How to install a simple countertop?
19 December 2018
Contact Us
Boisbriand
654 Curé-Boivin
Boisbriand, Quebec
J7G 2A7
Monday to Friday: 9 AM to 5 PM
Saturday: 9 AM to 5 PM
Phone: +1 450-419-5111
Email: [email protected]
Saint-Laurent
3850 Boulevard Côte-Vertu West
Saint-Laurent, Quebec
H4R 1V4
Monday: Closed
Tuesday to Saturday: 9 AM to 5 PM
Phone: +1 514-500-9866
Email: [email protected]

Sink and basin support, the countertop is increasingly seen as the finishing touch to the kitchen or bathroom décor. Acquiring and installing this accessory is not a matter of luxury. How do you go about it?
As important as a sofa, the countertop is very practical, used on the one hand as a support for sinks, basins, and on the other hand as a table to hold various items, both in the kitchen and bathroom.
Over the years, it has become an essential element. Like a decorative item, its design has also evolved over time: modern or rustic; contemporary or with rounded edges.
You can purchase your countertops from a specialized store or contact a reputable company for a quality product and tailored after-sales service.
As for installation, if you decide to do it yourself, this will allow you to reduce expenses. Here are some steps to help you install a simple, prefab countertop.
Tools and materials
– Safety glasses
– Measuring tape
– Belt sander
– Drill
– Wrench
– Bubble level
– Square
– Hammer
– Jigsaw
– Clamps
– Caulking gun
– Screwdriver
– Screws
– Tension bolts
– Silicone
– Sandpaper
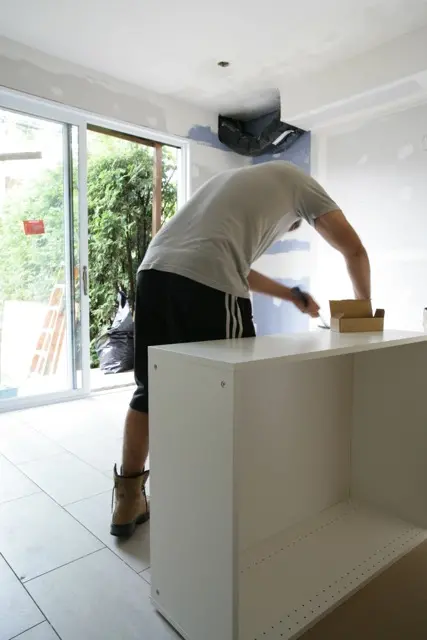
Step 1: Assemble the countertop parts
Start by assembling the different parts of the countertop using silicone. This operation will take a few minutes, as you must hold the parts together so they adhere easily to one another.
Step 2: Secure the bolts
Using your wrench, tighten the fastening bolts. Beforehand, you will have inserted these bolts into the spaces where the different sections meet.
Step 3: Level the countertop
Carefully install the countertop on top of the floor cabinets. Be sure to press it against the wall and ensure there are no gaps. The surface of your countertop should be stable, and the drawers and cabinet doors should open easily. If not, consider adjusting the level with shims.
Step 4: Stabilize the countertop
Now use the brackets to fix the countertop to the floor cabinets. Use appropriate screws to avoid them piercing through the countertop surface. Be sure to drill the holes from the inside out to leave no visible marks. Double-check the alignments before securing everything.
Step 5: Fill in the gaps
You can now fill in the gaps between the wall and the backsplash with caulk.
The process seems delicate, as the countertop must meet certain standards, such as height in the room and distance from electrical outlets. This is why it’s best to call on one or more experts.